Monday, January 24, 2011

Quicky...

Well I'm sorry i have not posted for a while,but i have been sick and I'm still under the weather.so I'm not staying here long and thought i would show you a few layouts.


I will be back with more soon as the kids go back to school next week :) ( one happy mum)
Thanks for taking the time to look.
Xx

Thursday, January 6, 2011

I did not tell you

This month at Inspired Crafts the design team are doing a $13 challange + a basic tool kit.
Well i have had my thinking socks on and im well under way.We had $13 to spend in store and thats it!! I did spend $13.01 thank god for rounding down!! keep coming back to see what the girls come up with.
                                                             Xx

This is what i have been up too!

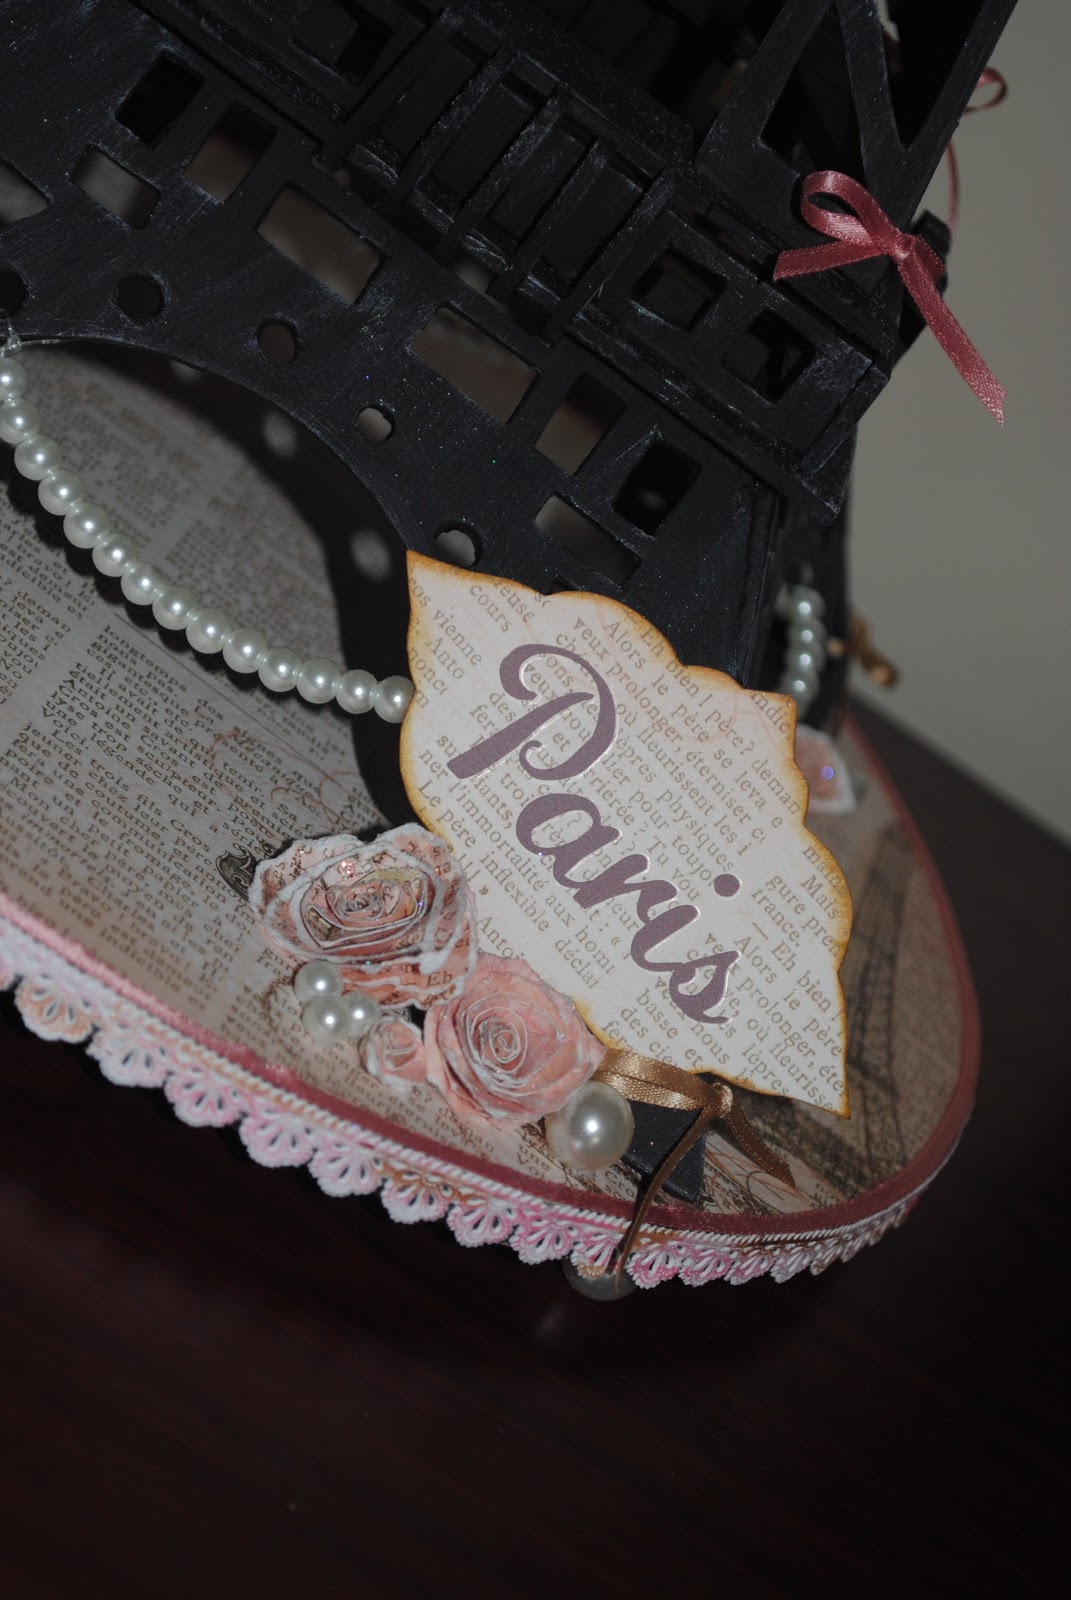
Do i need to tell what this is? Well its my Eiffel tower.
Its art for art sakes.

The Eiffel tower is one of those 3D jigsaws.I picked this one up from Inspired crafts,it was around $6. OMG was this hard to put together or what? The packaging said ages 5 and up well I'm a little over that and it was HARD! After i cut a few tabs off it finally went together :) I then painted it all over with black gesso,once that was dry i then dry brushed pail pink all over and then finished it of with a little silver rub and buff.

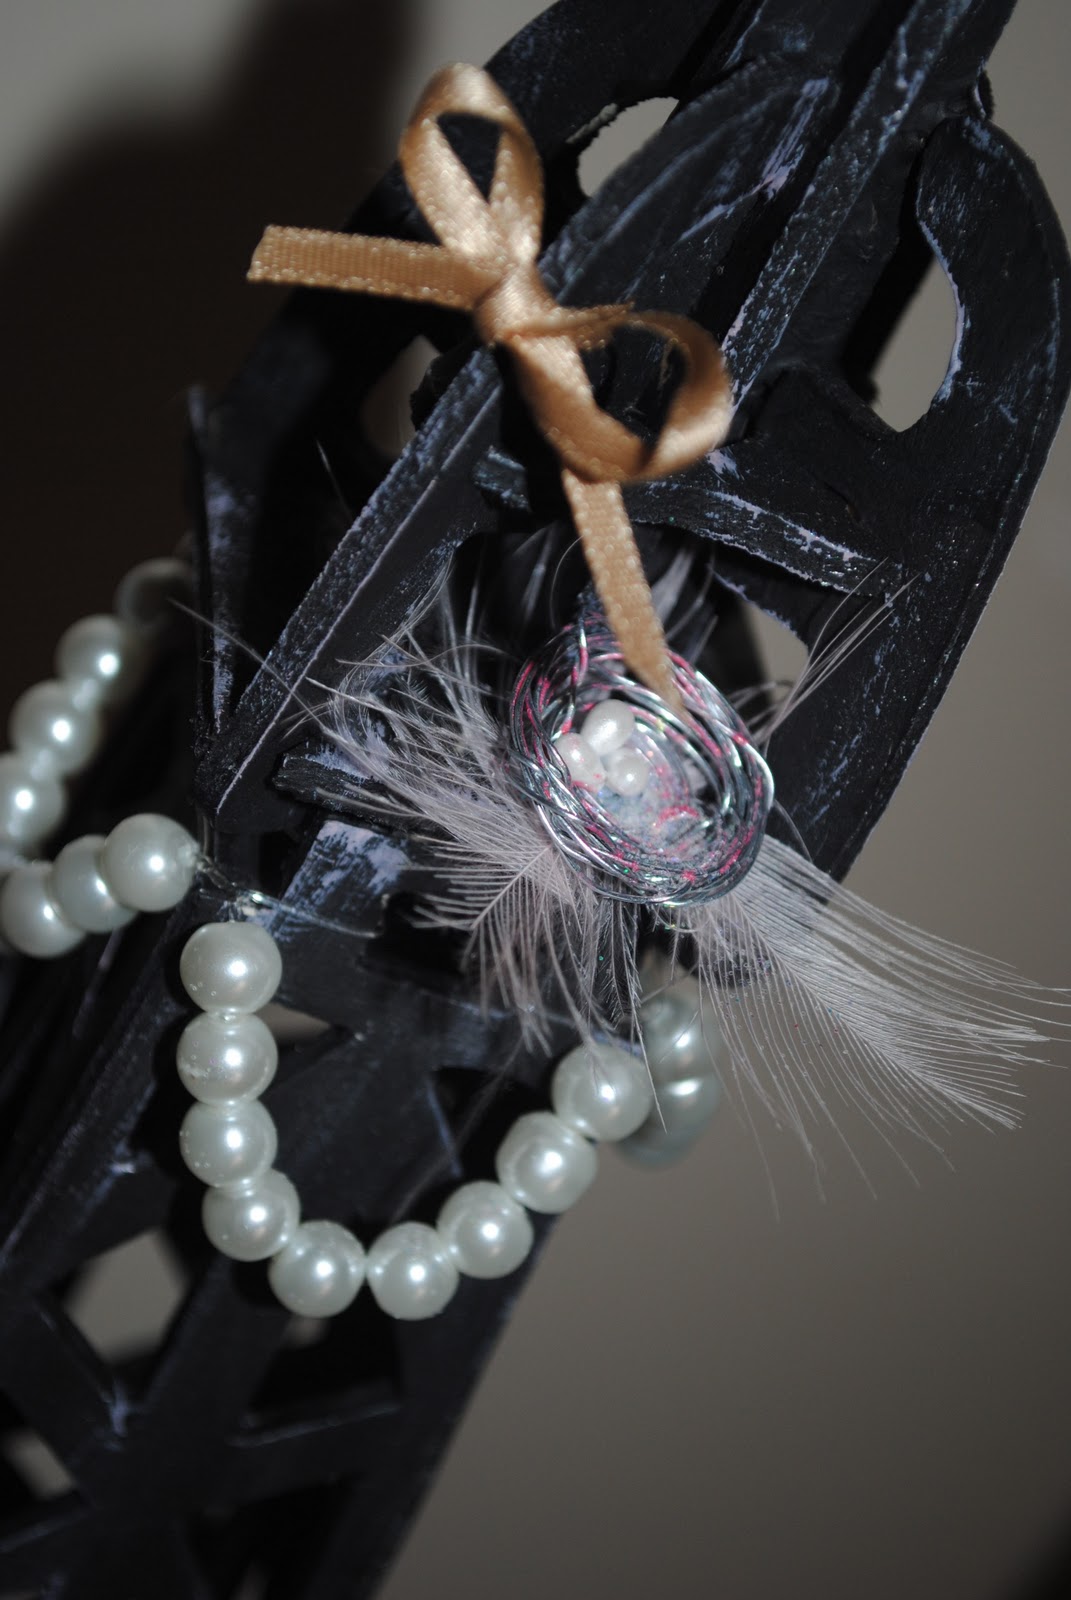
The base was made from 5 sheets of heavy chipboard glued together,then cut into a circle using a jigsaw.I covered the circle with a paper from Minds eye lost and found range.I also painted the base black.Large pearls are used as the "feet" on the bottom and they are gel medium ed on.I then used Smooched ink to matched the paper to cover over the white German scrap i have used around the edge of the circle base.Light pink and pale brown ribbon has been tied around some corners in little bows.I made a little nest out of wire to place at the very top of the tower i have also put pale pink feathers under it.Threading pearls onto cotton i have them placed around the top and the bottom of the tower..

I have used Hot fix pearls along the top.

I have also ran pink ribbon around the outer edge of the circle base.

I hand made the little roses out of the scrap bits of paper left over from the base.If you would like to know how to make these just leave a comment and i will get back to you.

The words are made from rub ons.I used the same paper and cut different shapes and distressed ink and fine glitter to finish them off.

I hope you liked looking at this and will give it a try for your self.

Well this is the start of my small very small scrap booking/craft  room.This is just a little look as i have a lot more to do in there yet.


small very small....but i do fit in.........more to come
Thanks for taking the time to look.
Xx

Thursday, December 30, 2010

A LITTLE THANKYOU !

Here is a quick little card i made for the owners at Inspired crafts.
Using the Hero Art Christmas wreath embossed with white embossing powder and Kaiser Craft rhinestones.

And a nice little box of Christmas cupcakes!

I hope they enjoyed them !! :)
See you all soon with some more work
Xx
of to the movies with my 5yr old today......JOY......

Wednesday, December 29, 2010

STAMPOTIQUE

I'm in LOVE !!!
I love these stamps from stampotique.com
Daniel Torrente is amazing at designing stamps!! This first ATC is of Glimmering hope (yes they all have names) Along with this stamp i have used shrink plastic, i love this stuff too !

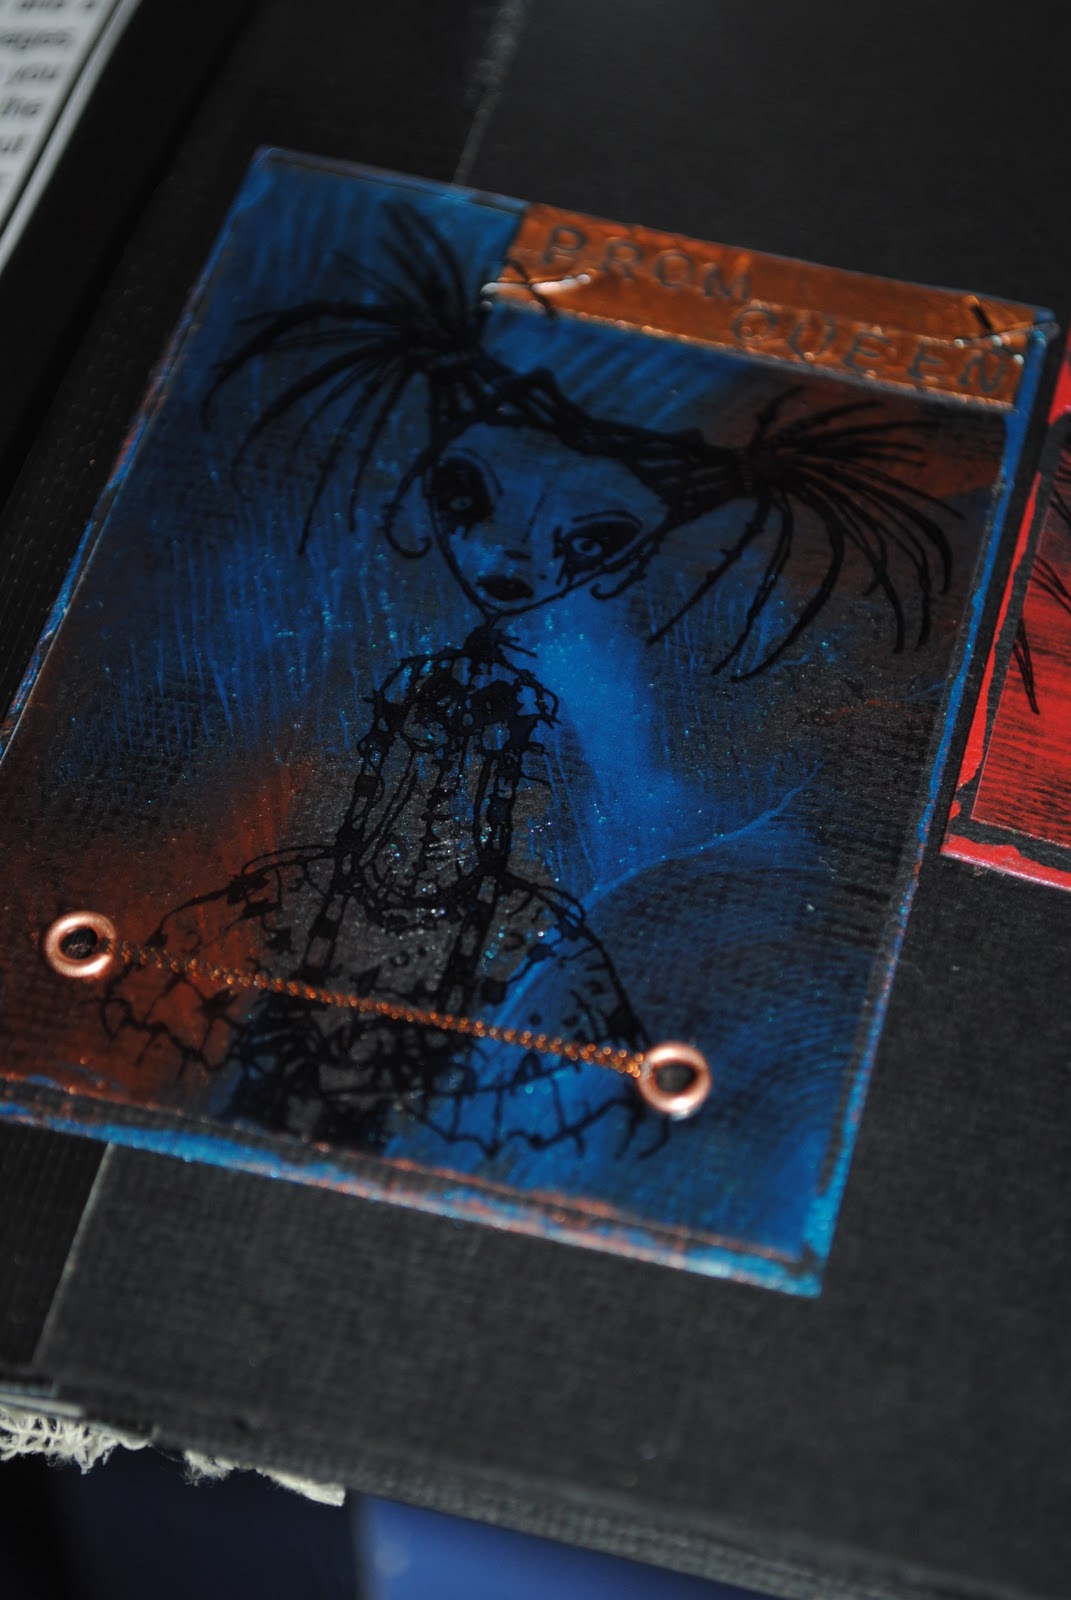
This is the Prom Queen , i use her alot.Doing ATCs is a great thing to do with these stamps because they are so easy to turn in to cards and invitations.This Prom Queen is done with a technique
 called spotlighting.

These next three are done on black card stock with bleach and Twinkling H2Os.Card 1 is relixin, Card 2 is glimmering hope, and card 3 is Gooseneck stamped twice.


Here is the Prom Queen again this time i have used Metallic Acetate,She shines differently from every angel.

And again this is the Prom Queen with Alcohol inks and Acetate.


Glimmering Hope is featuring in this ATC using a Faux leather background.

This one is also using the Faux leather background and my favourite Prom Queen.

Here are a few of the Stampotique stamps i have,They also come in boys,but i have not taken any photos of them,so i will get my butt moving and maybe just maybe in the next post i will have them ready to show you.
I have been SO busy moving all my craft STUFF (lol) into my new little very little scrap room.OMG i did not realise how much STUFF i had so im off to sort out a little more and i might have photos of that soon too.
Thanks for taking the time to look.
Xx

Friday, December 24, 2010

Christmas eve !

Well here we are,Christmas eve.How quick has the year passed?

Here are some Kusudama flowers i made.

I deiced to put gold glitter around the edge and use them on our Christmas table.

They look really hard to make but really they are easy

My friend Deb was making these canvases at a scrap booking retreat that we went to this year and i thought they were a great idea.

I got Matt to paint 3 flat canvases he really loved doing this.

I found out some photos i wanted to use up and backed them in black.I asked Matt what he wanted to say about his Nanna,grandad and Nonna.As you can see that's the wording he used.Now all i have to do i wrap them up.

This is the design team pack i got over Halloween.

This work is now on show at Inspired Crafts.

Pop out and have a look! They have lots of great stuff to make invites.


and cards

and well every thing you can imagine at great prices too.

Thanks for taking the time to look.
Xx

Merry Christmas