Tuesday, March 22, 2011

My Core'dinations Creative Frenzy

Let start with a 6 pack of cards.
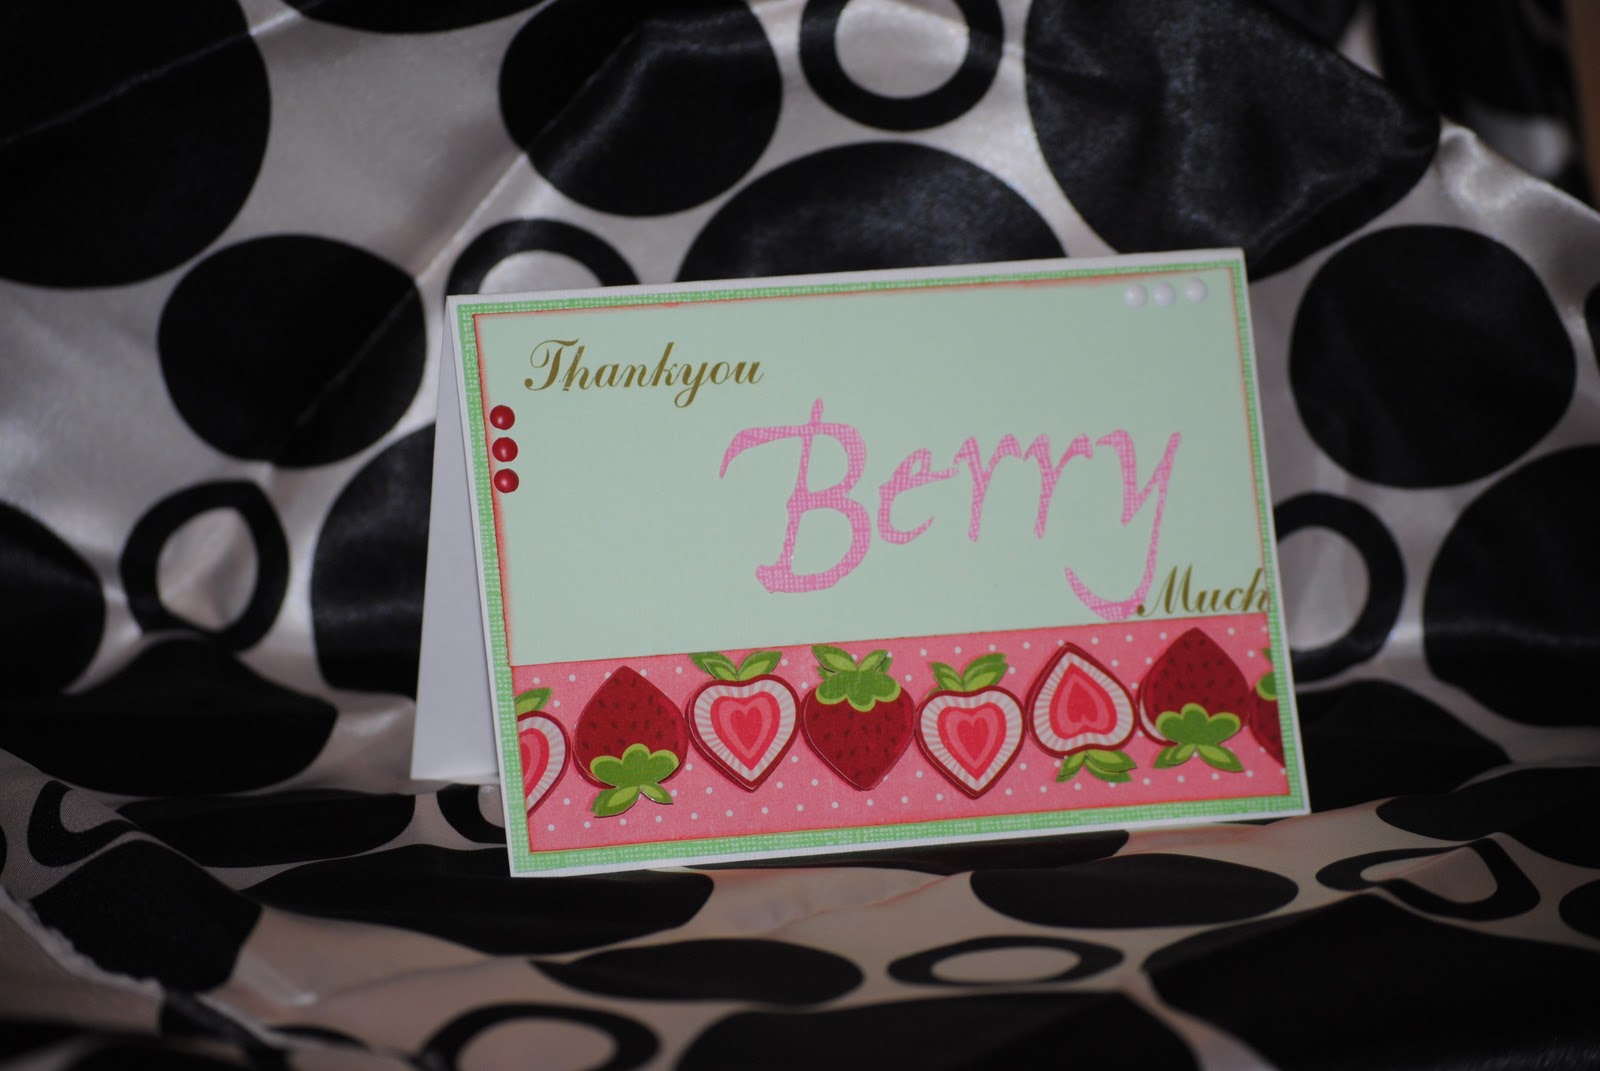
All these cards are made with Core'dinations and the very cute Berrylicious patterned paper from Imaginisce. 

In this one post you will see over 20 different ways to use Core'dinations. Use your Cricut or Cuttle bug to cut shapes or fonts once you have done this you then can sand , ink or glossy accent it. 

Core'dinations is great for layering , and stickers stick onto it really well. 


You can also use both sides of your Core'dinations card stock , using the "smooth" side you can apply rub ons easily.You can also leave the Core'dinations just the way it is because it has a great look as is.

Words look great cut out of Core'dinations as well,

Core'dinations rips really well.


The way i love to use it the most is to emboss it ! !

Then sand it a little , looks amazing in real life.
The sewing machine sews through it really well ,

Hand sewing looks great too.
Chipboard shapes and letters also stick to Core'dinations too.
Smooch ink looks a little fab and finishes this card of great.

Brads and eyelets look amazing against the texture of this card stock. So that's it for the card making part and next there are 2 layouts using Core'dinations

Ready for kindy ! !

Core'dinations is great for stamping on , I did not sand the edges of this one as i loved the look of the card as is.

You can also write straight onto Core'dinations.
Staples go through with ease.

Best Buds layout ! !

I'm SOOOOOO in LOVE with this Core'dinations card stock !

Run it through you cuttle bug with a really cute embossing folder ,

Sand over the top a little and the green " core " shows through , Finish it of with a little Rub n Buff . You can get this card stock in so many colours so why not give it a try .
Thanks for taking the time to look.
Xx

Sunday, March 20, 2011

You all must know by now that i LOVE cupcakes ! !

I picked up this box at a swap meet a few months ago now, Not know what i was going to do with it.

I picked up the cutest paper from Inspired crafts, Little yellow bicycle CUPCAKE LOVE. Knowing straight away what i was going to make !

There is about five different sheets of paper in this range. I covered the sides in one , the top in another and the inside in a different one again. I also painted the edges that were left showing in Kaiser craft candy pink, Once this was dry i then finished the edges of with a little more Kaiser bling.

I have cut a heap of left over card stock to fit in side. Each card will have a different cake / treat / or party idea i have done or want to do in the future on it. On the back side it will have any details like web pages , email and products used.

I used Cuttle bug letters painted with SMOOCH and glossy accented. The little cupcakes are cut out of the left over paper scraps.

And i have been keeping this really cute cupcake bling for something special.....and this project was just that ! !
I'm really happy with the way this box has turned out and it frees up alot of computer space having all my ideas in one little but not so little box.
Thanks again for taking the time to look.
Xx

Saturday, March 19, 2011

Animal Crackers !!

Well this is the latest thing i have been doing, Sorry about all the photos but it need this many.

I started with a kaiser Craft cupcake stand ( and i really love these stands ) i painted it with Kaiser Craft white paint.

I then drilled holes either side to put in dowel / sticks also painting them white.

I then did a trip to spotlight to grab matching ribbons to the Imaginisce paper i brought. I have decided to use double sided tape to put the ribbons around each layer, so i can take the ribbon off when i want to change the theme.

I also made a bunting flag / banner using the back side of the Imaginisce Animal Cracker paper. This was then place over the top of the dowel / sticks, this also will be changed when another theme is needed.

To finish of this stand it needed some cupcakes.

Making the cupcake holders out of the Imaginisce Animal cracker paper, i place a plastic egg ( BigW ) into the center and then hot glue gunned matching crepe paper around giving the icing affect. I also make the cupcake toppers out of the same paper range which has these really cute tickets on one of the sheets.

You will be seeing alot of this CIRCUS theme in the up coming months as i have decided to give my boy turning 6 a circus theme birthday. So as i do more and more and more i will be posting them.
Thanks for taking the time to look.
Xx

Monday, March 7, 2011

Want to make your own invitations?

This is my February design team pack. 


I do LOVE to make my own invitations, they can be so much fun!But also a lot of hard work when you make 100 at a time!

 
I got some really great paper in my pack this month, it was double side,so that always makes it go further. This really cute Your Invited stamp is from Inspired crafts,it was so cheap something like $3.This one would be great for a hens night.
Some times it really hard to make an invite that's not to "girl".This is a Twiddlybitz boarder coloured black with a sharpie. Then i added a few little pearls, Great for a black and white wedding.
 

 On this invite i have used a cream pearl card stock, German scrap and Aqua bazzill, to finish it of little brads in the corners.


Birthday party invite. A thin strip of patterned paper ( and to match the theme of your party) a thin strip of matching ribbon with double side tape on one side to cover the join. The little To,When Where stamp set i have used on here is from kaiser craft another cheap one at around $3.


Bridal Shower invite i printed on my computer,I have then used a strip of black card stock across the top and used double sided tape to tape on this really cute silver lace which i threaded with a thin strip of pink ribbon that match the pink invite.(don't forget this would look amazing in any colour). 
This wedding invite looks so much better in real life!
I have used two pieces of white card stock, a piece of aqua ribbon, this is in about 1 inch thick. Taking the back piece of card stock , the one without the invitation on it using double side tape, tape the ribbon right around the backing card, Now you could place the ribbon where ever you like, off to one side or across the other way, its really up to you where you would like it placed.Taking the Invitation part of this invite use shimmer chalks to match the colour them, carefully go around the out side edge with the chalk. Finish of this invite by using matching Rhinestones.


This 50th invite is another great "man" one.
Using the Twiddlybitz boarder again coloured black.
I have also added a small amount of black shimmer chalk around the edge of the white card stock to give it a little shine. Again using the kaiser craft invite stamps.


This one would be great for that boy/man that's turning 21 !
adding a little colour to this one i have placed an extra sheet of "colour" being the Aqua into the middle.again this could be any colour you like.
I have used silver stickers on this invite.These stickers are really really cheap and you get heaps in a pack and you can pick them up at inspired crafts.Finishing of this invite i have used Tim Holtz screw brads.

This is the last invite for this post, but i am going to try and do you all invites every month with great new ideas for you to try for your next party.  This is a Holy communion invite, printed again on my computer.i have used a silver charm with a little rhinestone glued into the center.I think you could use a little cross stamp embossed on the top to which would look just as great for half the price.

Thanks for taking the time to look
and don't for get to tell you friends to become followers I'm half way there to be giving away $50 WORTH OF CHIPBOARD PRODUCTS.
Xx

Tuesday, March 1, 2011

Mannequin

 This is just one of the latest things i have been working on.


I brought this mannequin from target for a really cheap $5.45.
I made the bodice out of gold shim and painted a little black paint all over and then rubbed it of to leave a little in the folds.
I use an old music book i picked up from the swap meet to use as her under dress.

I then hand beaded around the top of her bodice and stuffed her with tulle. She also needed hook and eyes to hold her top up!
Ii also hand beaded her necklace and i used scrap dots to place a hand cut butterfly onto the bottom.


She needed a belt with a little gold bow!

and WHAM!!! she is finished!!
Thanks for taking the time to look!
Xx

PS don't forget to become a follower and i will be making the draw for $50 worth of chippy very soon.